So, you’ve decided to take apart your Xbox Series S? Perhaps you’re on a noble quest to clean out dust bunnies or maybe you’ve found an unexplained error that’s bugging you. Whatever the reason, fear not. You’re about to dive deep into the heart of your console. This guide is packed with knowledge, humor, and just the right touch of confidence to make this process as smooth as butter. Let’s get to disassembling and solving that Xbox mystery.
Essential Tools Needed
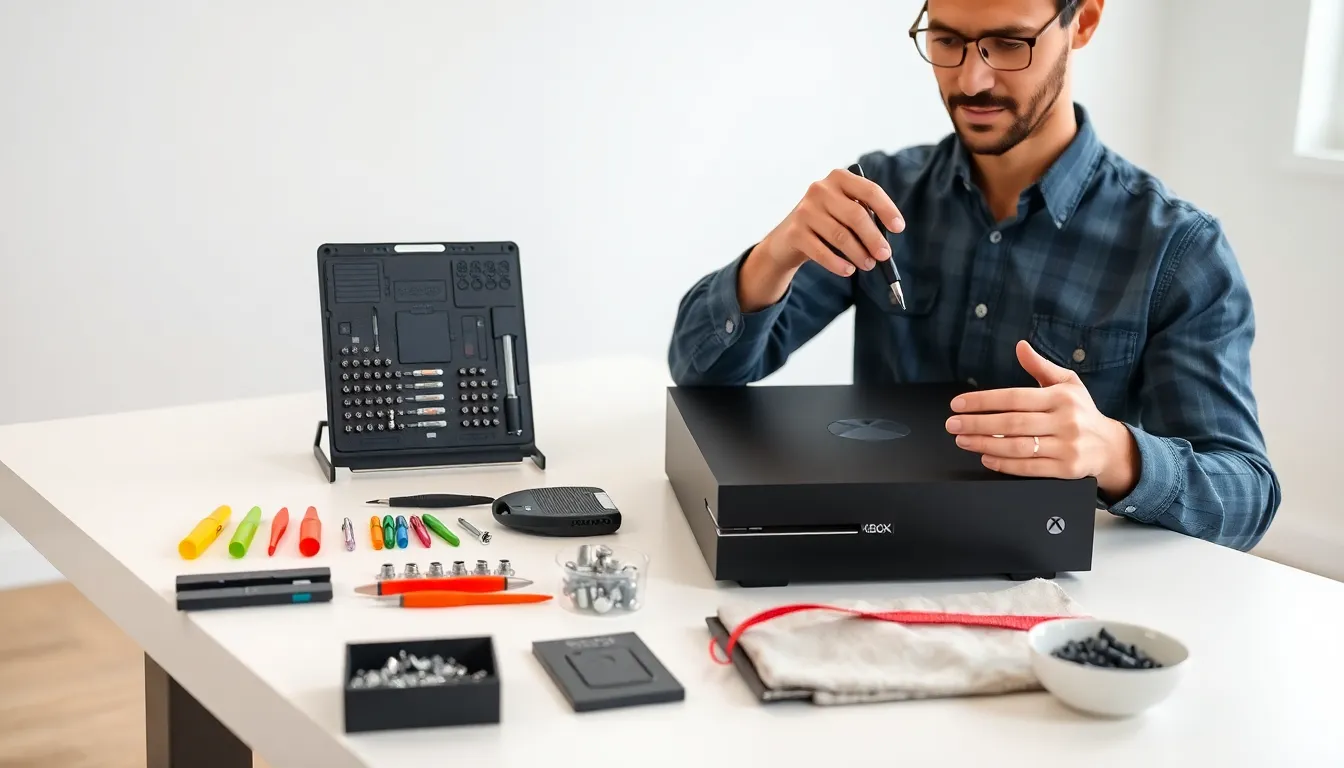
Before jumping into the disassembly process, gathering the right tools is crucial. Here’s what you’ll need:
- Screwdriver Set: An essential item, preferably a precision set that includes Torx bits, as you’ll encounter different screw types.
- Plastic Opening Tools: These help pry open the console without damaging the casing. Think of them as the gentle giants of the tool world.
- Antistatic Wrist Strap: Protect those circuits. This nifty device prevents static electricity from frying your components.
- Container for Screws: Keep those pesky screws organized. Losing one could turn your disassembly into a scavenger hunt.
- Soft Cloth or Mat: To place your Xbox on, ensuring it doesn’t get scratched up during the process.
Gather your tools, and let the adventure begin.
Preparing Your Workspace
A cluttered workspace often leads to confusion, and who needs that? To set the stage for a smooth disassembly, follow these steps:
- Choose a Flat Surface: A sturdy table or desk works wonders. You want a stable environment, one where your Xbox won’t roll away or encounter any unwelcome bumps.
- Ensure Adequate Lighting: Good lighting is key. You’ll be looking at tiny screws and components. Brighten up the area so no sneaky screws slip by unnoticed.
- Minimize Distractions: Turn off notifications or ban your pets from the room. Focus is your best friend here, and even a wandering cat could make you miss that vital step.
Once you’ve set up your workspace, you’re ready to tackle that Xbox.
Step-By-Step Disassembly Process
Now, the moment you’ve been waiting for, disassembling the Xbox Series S:
Removing the Outer Shell
Start with flipping the console over. You’ll see several screws around the base. Using that trusty screwdriver, remove them while keeping track of which ones go where. The outer shell should come off easily once all screws are out. If it feels stuck, apply gentle pressure with your plastic opening tool.
Disconnecting Internal Components
Once the outer shell is off, the next task is to disconnect components. Look for cables and connectors linking the power supply and cooling fan. Gently pull them out, avoiding any tugging. Think of it as delicately untangling a favorite pair of headphones, patience is key.
Accessing the Motherboard
Now, to unveil the motherboard. Keep an eye out for screws holding it in place. After unscrewing, gently lift it out. Make sure you handle the motherboard by the edges to avoid touching any sensitive areas. Remember, no static shocks allowed here.
With these steps, you’re well on your way to dissecting the Xbox.
Tips for Safe Disassembly
Safety shouldn’t take a back seat, even when disassembling a gaming console. Here are some essential tips:
- Work Slowly: Rushing through this process can lead to mistakes, hello, broken screws. Take your time.
- Document Each Step: Taking notes or photos during your disassembly can be invaluable during reassembly.
- Avoid Forced Movement: If a part isn’t coming off easily, don’t force it. Double-check for hidden screws or connectors.
- Store Components Safely: Keep the components organized. Use labeled containers for screws and parts to simplify your reassembly.
Following these tips will not only make disassembly easier but also safer.
Common Issues To Look Out For
While navigating the disassembly process, keep your eyes peeled for these common pitfalls:
- Stripped Screws: Often happens when too much force is applied. If you find yourself in this situation, using rubber bands can help grip and unscrew them.
- Hidden Cables: Some cables are deceptively camouflaged. Be on the lookout for any connectors you might miss. A missing connection could spell trouble when it’s time to reassemble.
- Dust Build-Up: Accumulation of dust and debris is common inside electronics. Take care to clean as you go, but avoid using liquid cleaners.
Stay vigilant, and you’ll avoid many headaches.
Reassembly Tips and Best Practices
Successfully reassembly requires methodical efforts. Here’s how:
- Reverse the Disassembly Steps: Refer back to your notes. Everything should go back in the reverse order.
- Check Connections: Before sealing up, ensure all connectors are firmly in place. Loose connections could lead to malfunctioning.
- Double-Check Screws: Make sure all screws are tightly secured. Wiggle the components gently to be certain.
- Test Before Final Sealing: If time allows, power the console on before completing the reassembly. This way, you can ensure everything works smoothly.
Following these practices will enhance your chances of success.